Thursday, August 31, 2006

Chest, arms and shoulders...

Its almost ready.

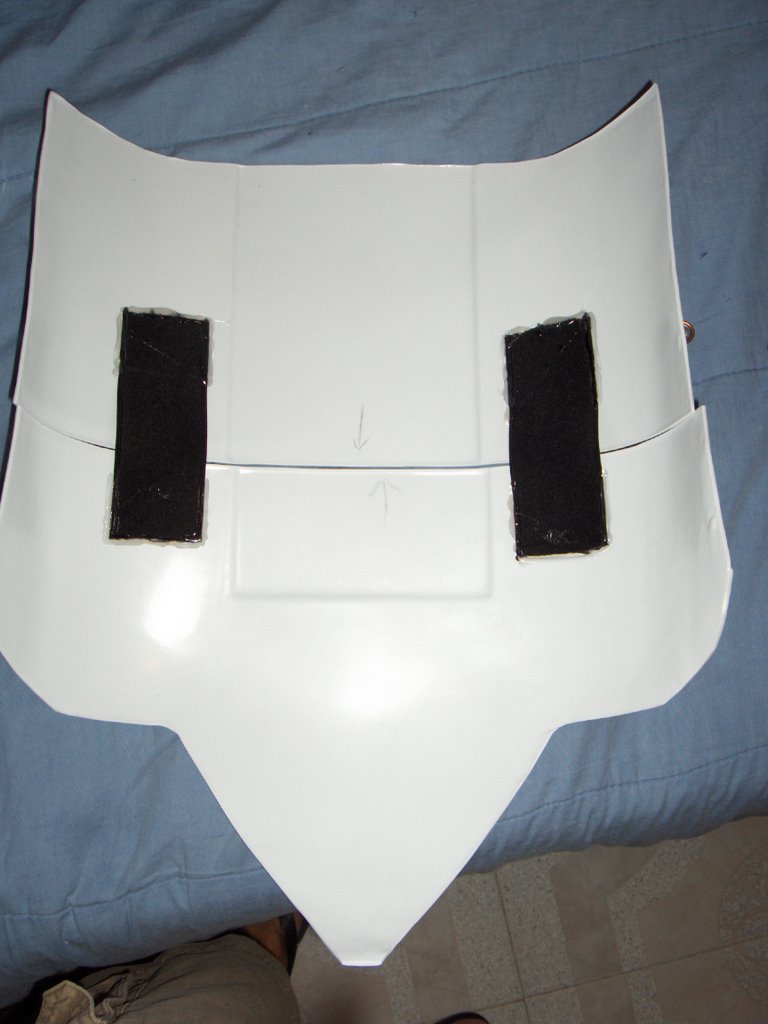
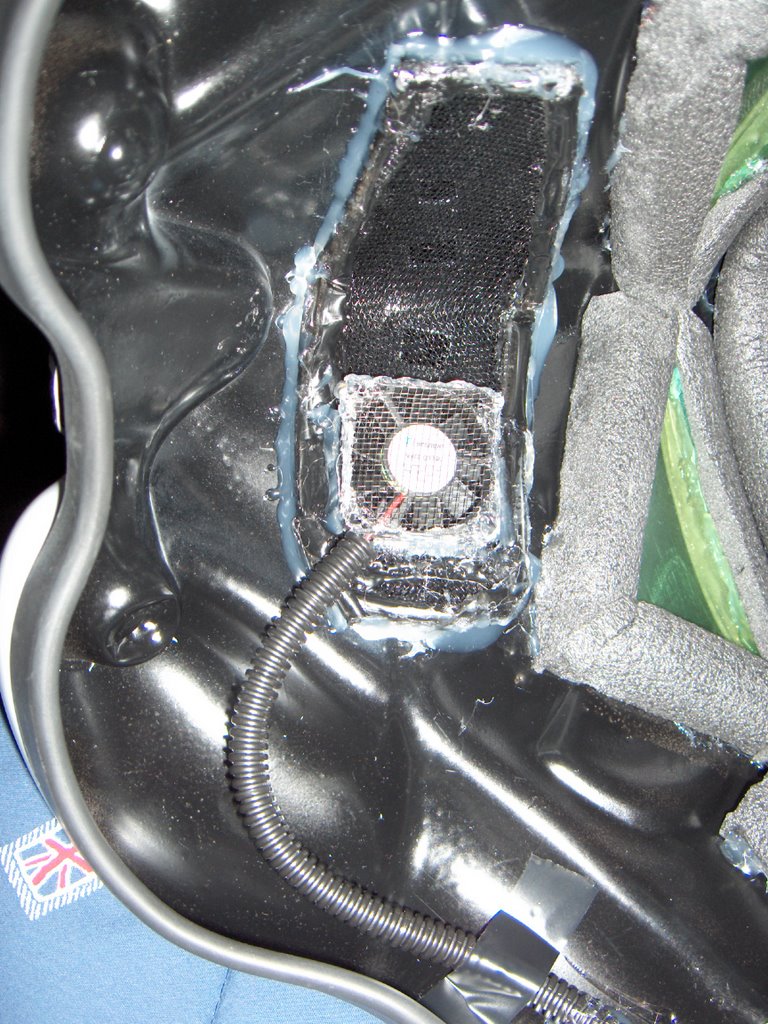
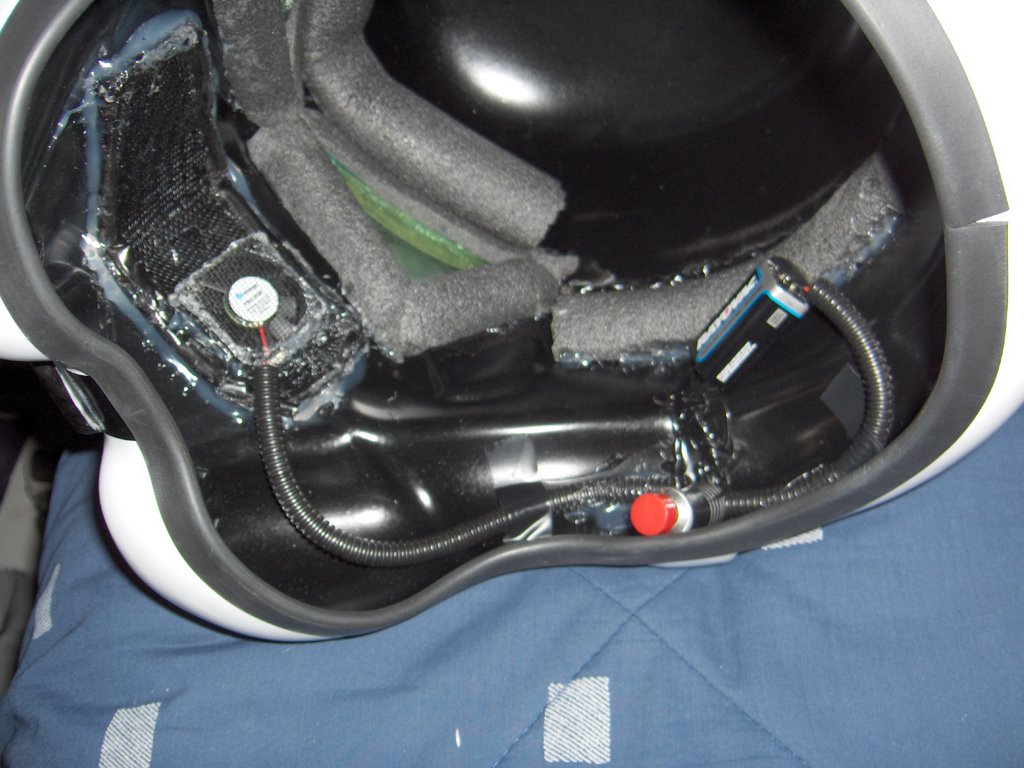
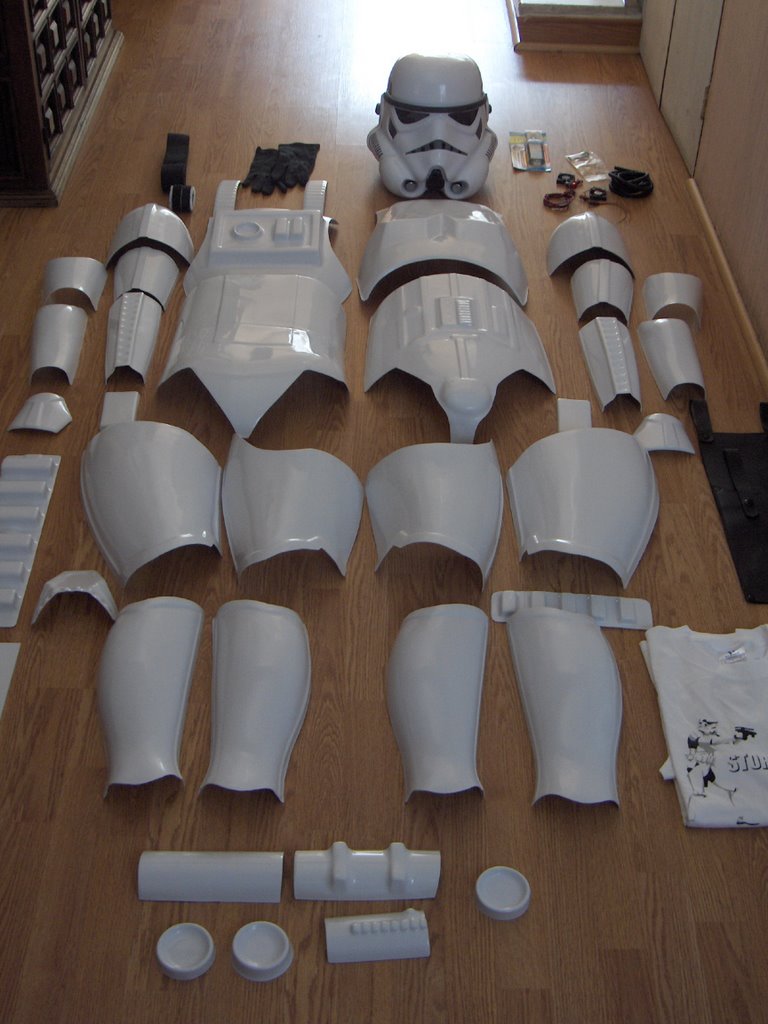
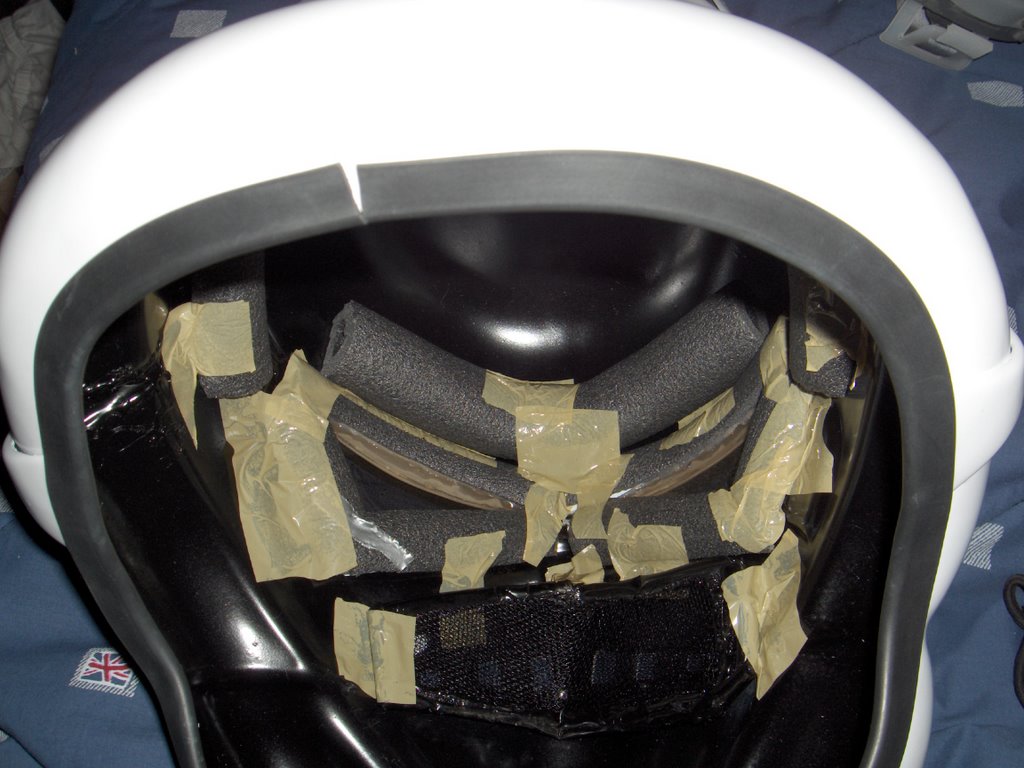
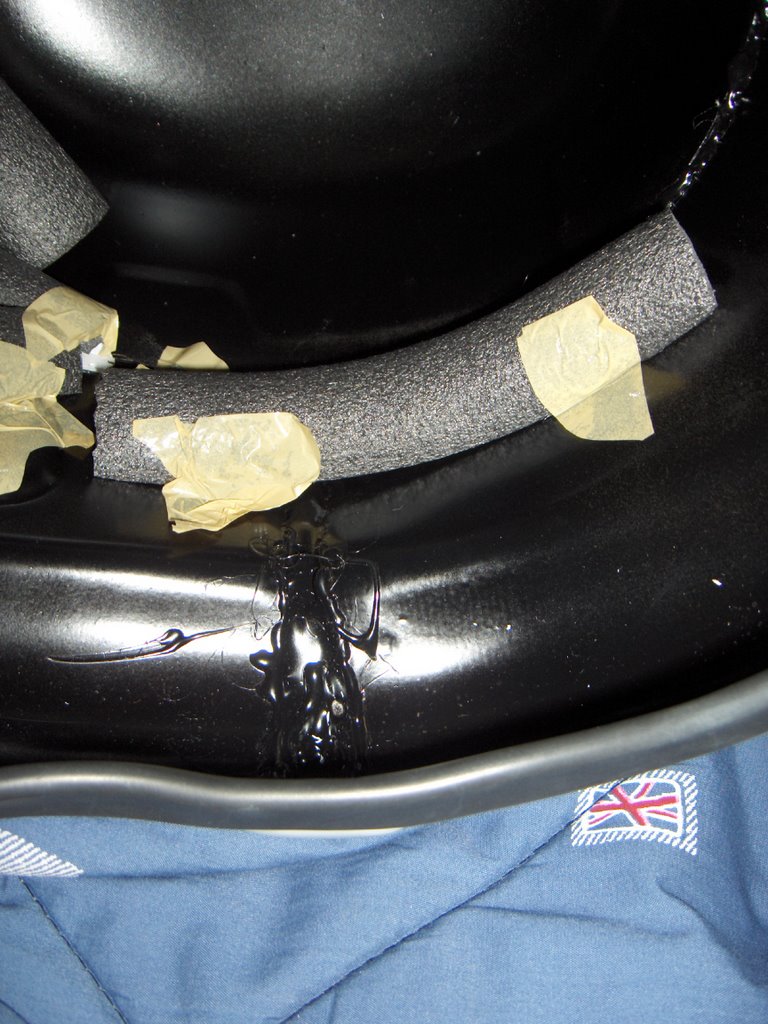
I ahd worked in the chest, upper and lower parts for a few days now. Trying different attaching systems: Velcro, Industrial Velcro, Glue, Hot glue, and even tape. But it seems that its is finally, almost ready. HEHE...

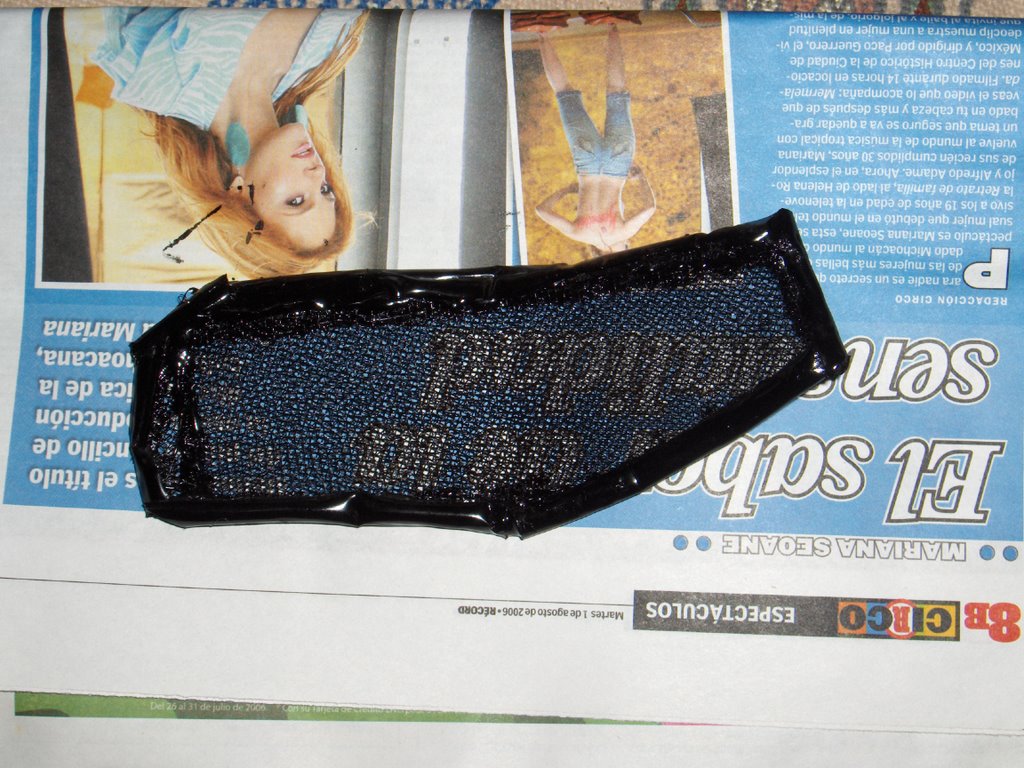
The most tricky part were the shoulder straps. It was a pain in the butt to have them properly attached and yet keep them remobable. So at the end, I used two different pieces of Industrial velcro placed in strategical spots, glued with E6000 and secured with hot glue. Worked fine.

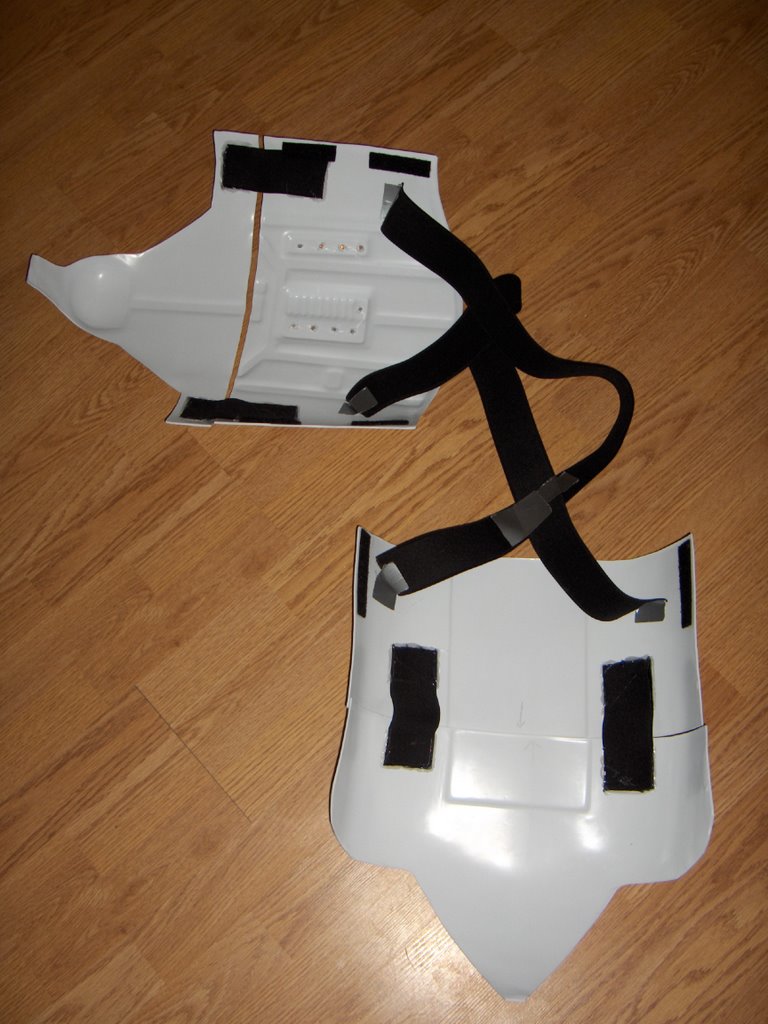
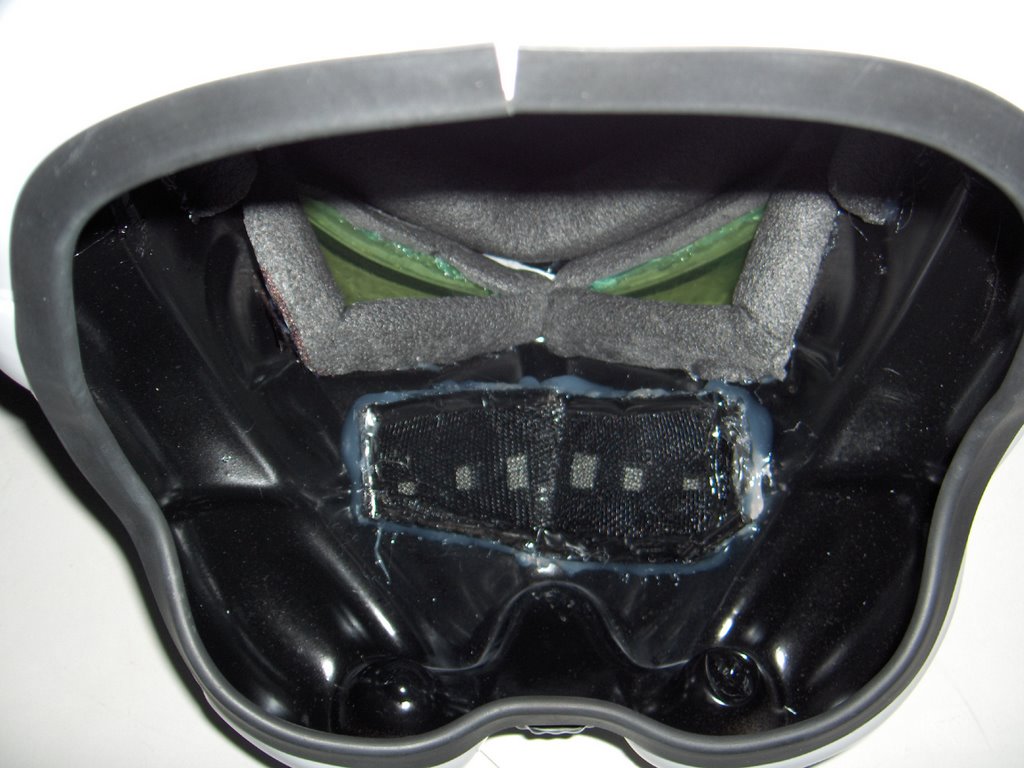
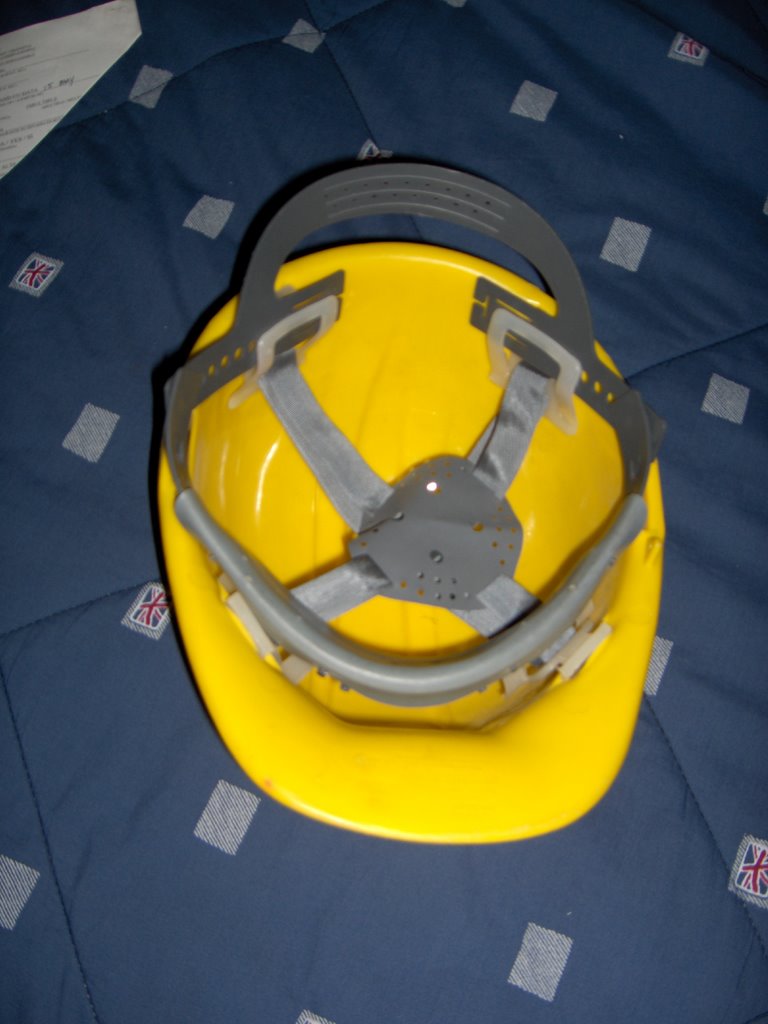
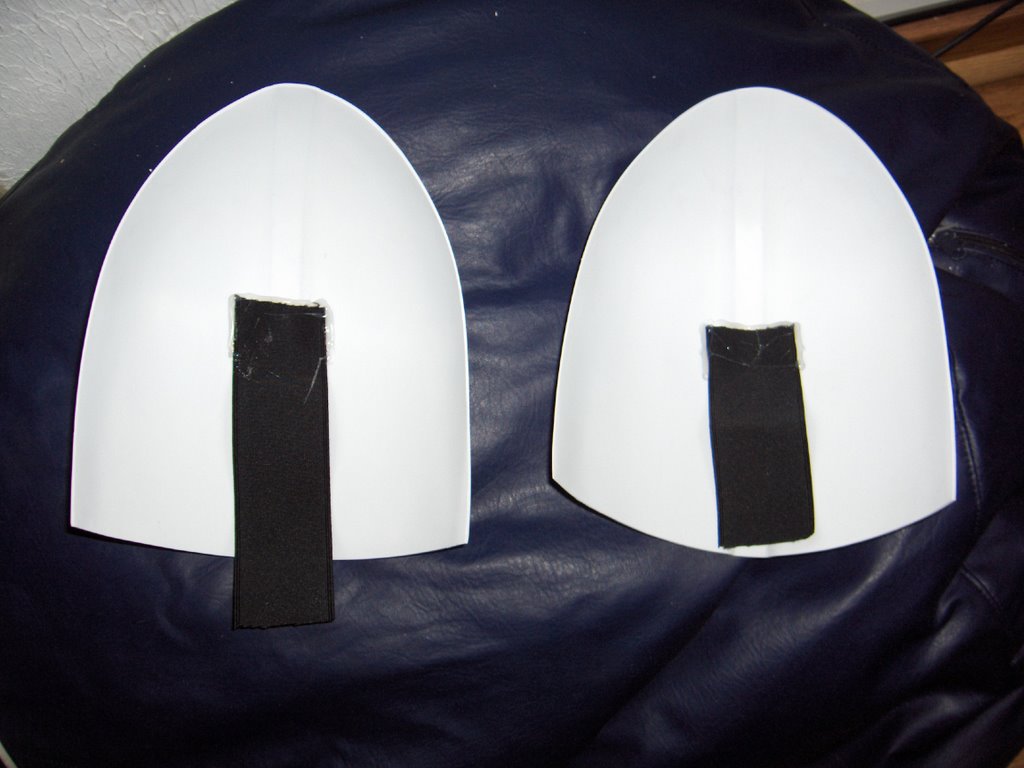
Then, I attached the upper arm pieces to the shoulder pieces using elastic and hot glue. It worked fine, I just need to do the same to atttach the shoulders to the shoulder straps. Lets see. I also put some foam in the interior of the upper arm pieces to prevent it to move around.


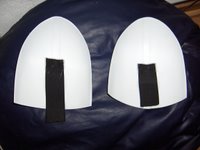
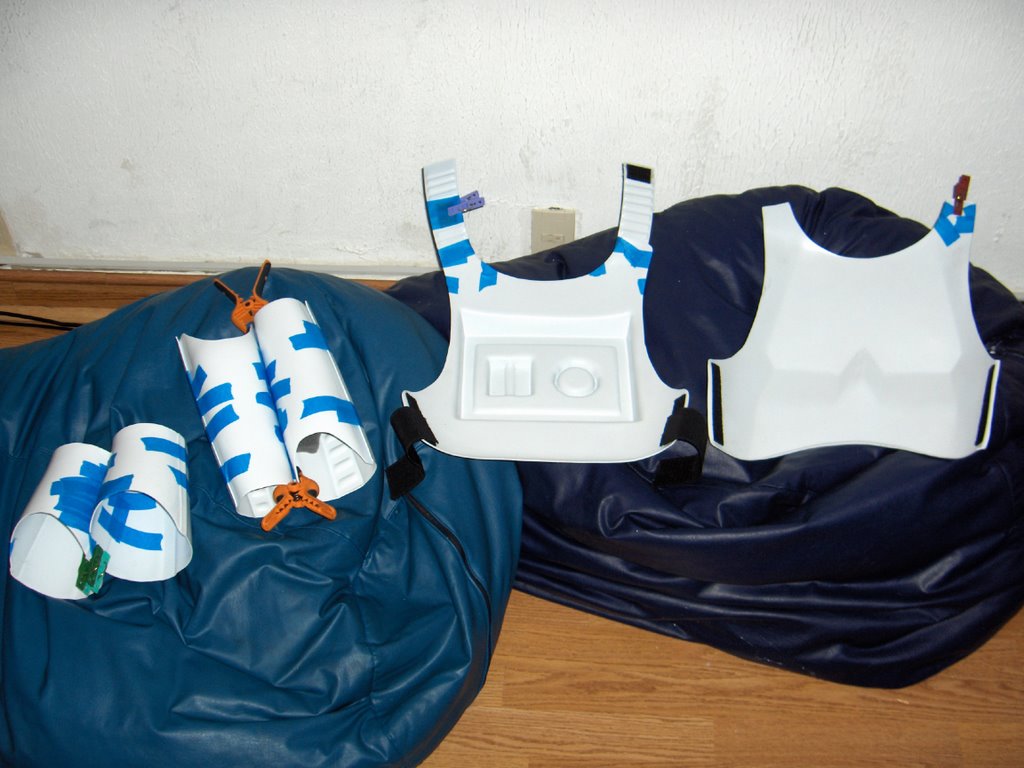
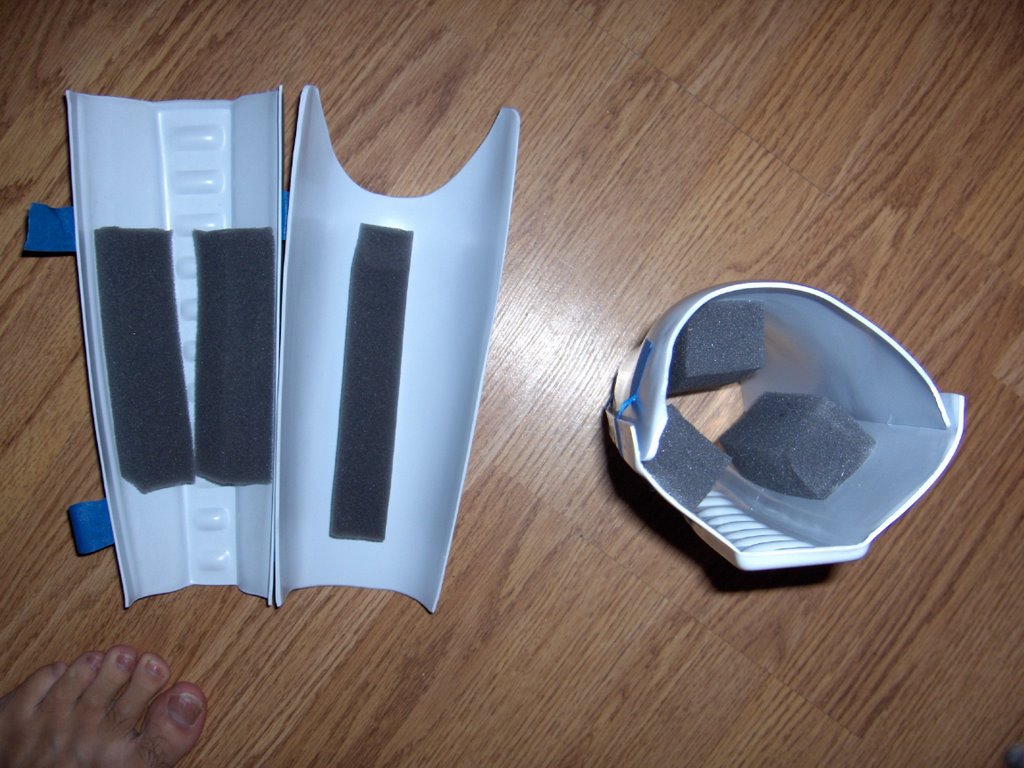
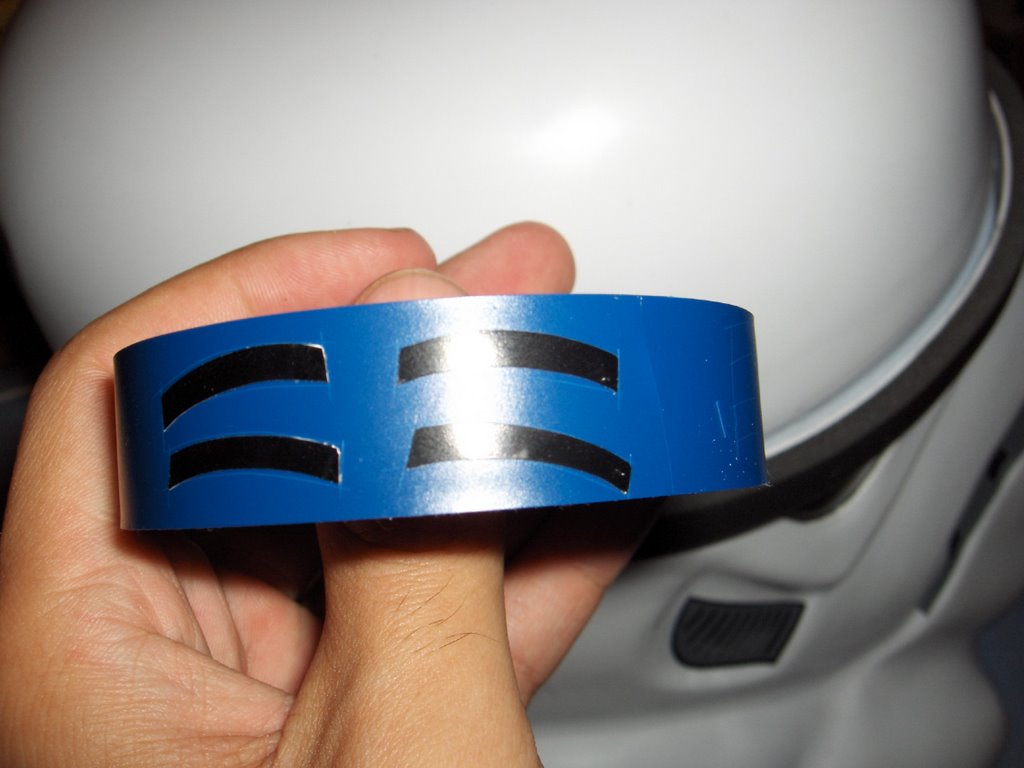
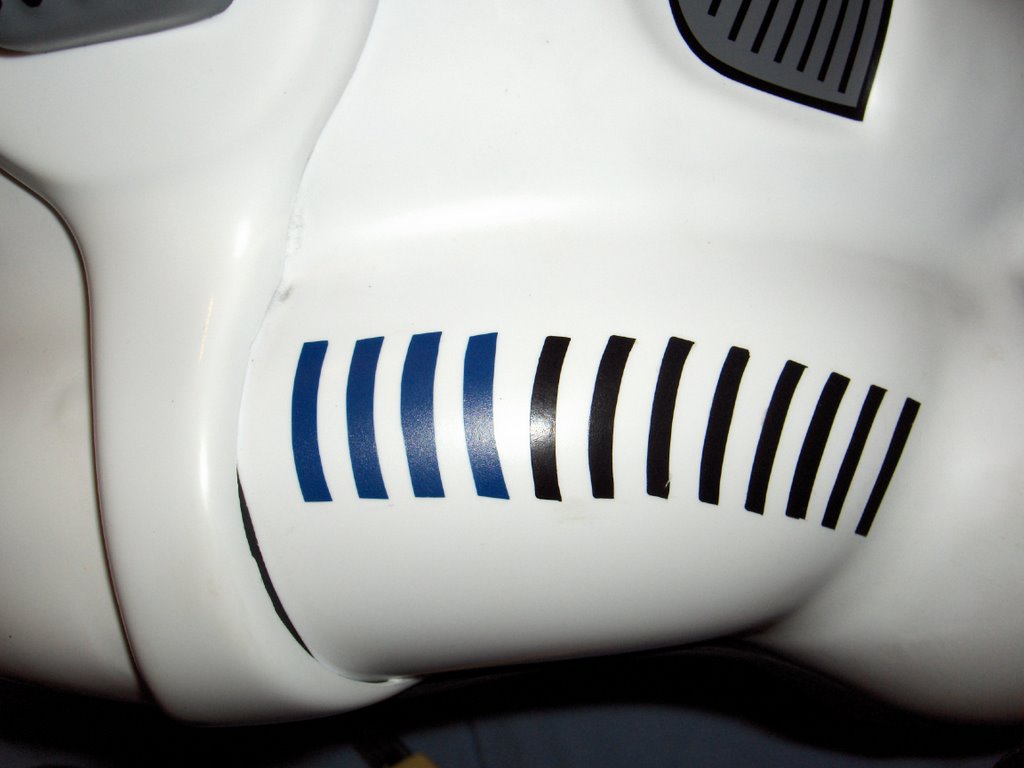
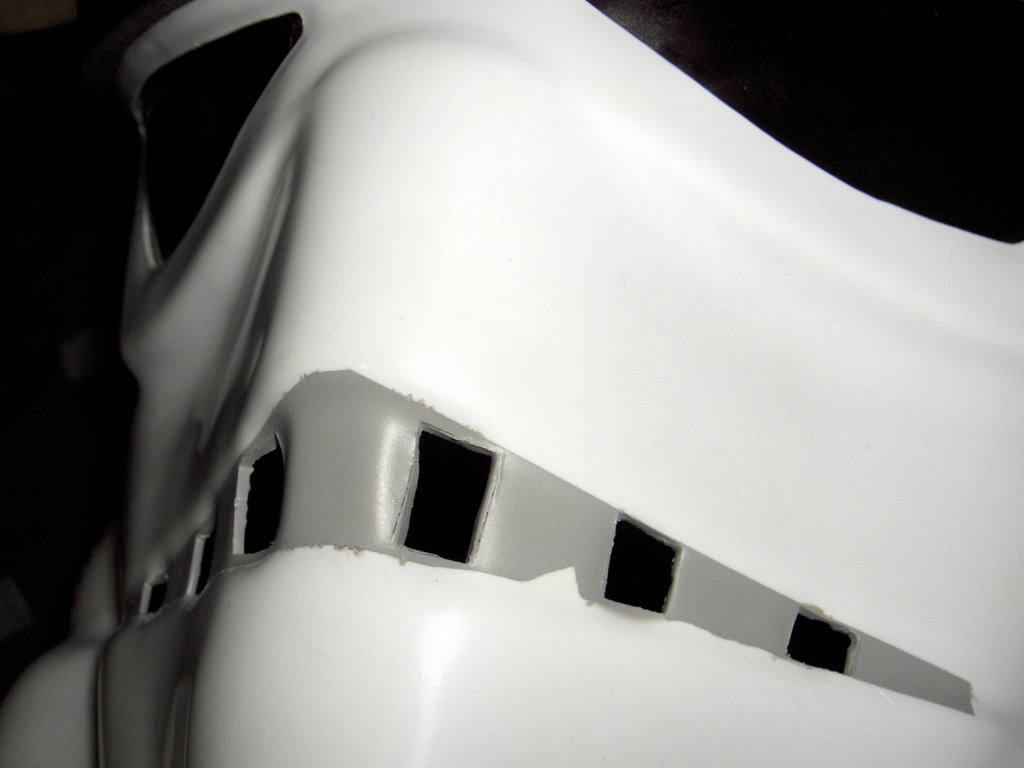
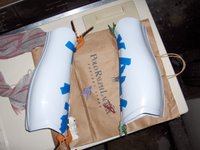
At the same time, trimmed the upper leg parts and pasted the shins. I think I will paste the upper legs in both sides, and will use velcro for the back of the shins, while pasting the front part... This way, I ll try to reduce to a minumun the use of velcro.


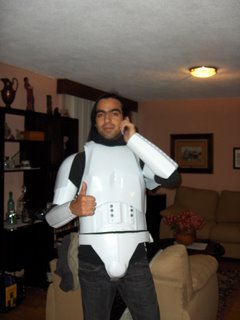
And well... as a preview... here is the first picture of myself wearing at least part of the armor...

Tuesday, August 29, 2006

The Torso.

Last night, after getting some E6000 PVC glue, I arrived home and continued working on my armor. This time, it was the turn of the arms, and finishing the torso pieces, and started to work on the shins.

Firts of all, I removed the snap buttons I had placed in the belly... This because I placed them all painted in black. But then found out, thanks to the help from my new buddies from the 501st legion garrison méxicoforums, I found out that the correct color scheme was differrent. So I painted some buttons in gray and some I will paint on blue, later on.

It was not difficult since I used hot glue, and painted using the same primer I used to paint the frown gray. I also cut it in two separate pieces to make it more comfortable to move and wear. I did this to the two lower torso parts.

Here is picture of the lower torso pieces, there you can see it still with the black buttons.


Then, to finish the lower torso, or attempt to finish at least, I hot glued some elastic that will work as suspenders... I prefered this option rather than attaching them to the upper torso, cause I think this way Ill have lot more room to move and will be more comfortable to wear. Hope Im right.


Now I just need to paint 3 buttons in blue to properly match the Death Star Stormtrooper look from ANH. Ill do it later on the week.

Nest step, I started with the upper arm pieces. It was not very difficult. Just pasted one of the sides. Once it was done, I trimed a bit of the other ends and paste it toguether... I must say that the clamps were of great use here. I dont know how would have ever done it without them... I used the E6000 glue here, from Home Depot. Its very strong so it must be treated carefully. And it stinks big time!!


Then, I worked on the lower arm parts. Its nice to be avarage size and complexion, cause most of the parts fits just perfect. Needed to make just a very few modications and the parts fitted just right. For these parts, I added some foam padding on the inside, to make them fit better and stay in place. I hot glued the foam and it works nice. I was able just to paste one of the ends on both arms, I will still need to do the other ends tonite or maybe tomorrow...

In this picture also appear the upper torso parts... more on them later.


Monday, August 28, 2006

Helmet done!!

Righth now, my stormtrooper helmet is done and ready for trooping.

I got the fan and wires I needed for the ventilation sistem, so now it was just a matter of assembling it all toguether...

So first of all, I did the whole wiring thing from the baterry outlet to the fan and through the button. It was not very difficult since I had prior experience with elecrtrical stuff in other props and models.

Once the wiring was done, I put all the components inside some flexible tubes I got, and used anothe tube to make some kind of holder for the button.


This is how it looks after everything was put toguether.

Then, I hot glued some screen over the fan, just to have the safe feeling. I wouldnt like to have my dreadlocks sucked into the fan... LOL... And then, glued the fans over the wholes I drilled on the frown. I read some pleople place the fans so that one can blow air inside while the outher suck it to the outside... I placed both of mines blowing to the inside. After all, its not closed and the air can scape downwards.


And then, I hot glued the tubbing all around the edge of the helmet. It worked fine for what I had in mind. The helmet looks was looking as cool on the inside as on the outside.


Finally, I glued some velcro stripes where the battery would go. That way I could secure the batteries, buut have them easily replaced or moved if needed.


After doing this with both fans, the helmet was almost done. At the end, I just had to replace the black decals on the, mmmh, well, ventilation system I guess, with blue ones, to match the ANH look I wanted for my helmet. I did this using blue electricians tape and a cuttter knife, not very difficult and results were great.


Got amor!!!

So, finally... after I dont know how long of dreaming about it, I got a brown cardboard box containing my stormtrooper armor!!! I was just like a kid on xmas morning... couldnt even decide where to start, since I was so exited. First step, the regular armor-on-the-floor shot...


The big brown box.


All the pieces were packed individually. I apreciated that cause it prevents any damage to the glossy finish.


Thats my armor!!!

I also got the ventilation system, some velcro, promotional stickers, flyers, a free t-shirt, snap buttons and several stuff... I also had some other things in Wallmart earlier: glue, extra velcro, some kindof industrial velcro, electricians tape, masking tape and some other stuff.


Tools, and materials.

Also, my neck seal is in process, Ill get it maybe in a week or two. Im on my way!!!

Tuesday, August 22, 2006

Almost there... almost there.

Im almost done with my Stormtrooper Helmet.

So fa, I have drill the frown vents, painted the interior black and put on some padding . And now, the latest modifications, I painted the frown in gray, and a wire screen on the interior of the frown.

To paint the frown gray, I used some primer spray. Its matches de color of the decals nicely and gives a cool finish. Not very glossy but its fine with me. And to glue the screen, I used some hot glue. It was an easy job. Now the helmet is almost complete. I am now in search for the fan and electronic parts for the ventilation system.

Here are some pictures of the helmet.


This is the helmets inside. The Wire mesh is already in place...


This is a close up (a bit out of focus) of the paint job on the frown and how it looks with the mesh... cool I think.


An this is a shot of the whole thing!

Next, the fans and cooling system...

Friday, August 18, 2006

Padding and green lenses...

This time, I wanted to put on the green lenses, so following some advice I found on the net, I used some Softdrink plastic bottle and cut some lenses. I must say the results were not great, but from the begining I knew it was going to be like that. So, I dont mind. Cause at the end.. well, youll see.


This is a pict from the bottle cutted down.


These are the lenses before pasting them.

I decided to leave the smoky flat glasses that my helmet already had. But glue the green one over them to make them darker and giving them some kind of greenish look. The result. well...


Here, we can see the lenses put into place before glueing them.

I hot glued them over the smokey lenses and then glue some padding over the whole eyepiece. It came out fine cause the padding prevents sharp edges sticking into my face and it also feels comfortable to wear. But a very cool thing is that thet stop light from coming from under the helmet to light my face. Nice.


Here is one eye with padding.

At the same time I was padding the eyes, I start glueing the pads for the side of the head. It was not difficult at old. I just had to be carefull not to put too much glue on the foam , cause it kindof melted a bit. But at the end, it came just great.

Once I finished with the sides and the eye pads, I think it was done. It fits great. And I have enough room to breath and for my dreadlocks. Eventually, when I cut my hair off, I will need some new padding system, but in the meanwhile, this is great.


I am trying to make the helmet look as cool in the inside as on the outside. Kindof tech and cool gadgets on it. So, I think its comng quiet well.

During the week end I will try finishing the paint job on the Frown, and maybe go shopping for the ventilation sistem, and some crazy Idea I had about a hidrating system, since everyone says its so hot and tiring to be in the armor for long periods.

will see...

Thursday, August 17, 2006

Padding, but not yet.

Yes, my girlfriend got me some padding stuff for th einside of the helmet, and also some darker gray spraypaint. So, now I can start working again on my helmet. As soon as I find some spare time.

But already yesterday night, for about 15 mins, I started to cut and give shape to the padding I will be using to get the exact fit for my helmet. First of all, here are the tools and stuff I used: duct tape, some other tape, cutter knife, scissors, some kind of foam pad use to cover ducts and thats it I guess...


First of all, I started by measuring the covers of the lenses. I want to place some padding around the edges of the lenses to make the more comfortable, and also to try and making it more difficult to see through them from the outside.

This I did by cutting sections of the foam tube, cutting it in 4 along the lenght of it. Then I placed it along the edges of the lense, cutting it down to fit, taking it apart and then hot glueing it toguether. That was my first attempt. It came out pretty good, but for the second pad, I will paste it directrly to the helmet. I guess.

After that, I placed a whole section of the foam tube in the forehead area, just to separate my face form the face of the helmet. This worked pretty fine. And eventhough its just secured with tape for now, I think that once its glued, it will work great.

To ensure that the fit would be fine, I temporarly taped the wire mesh to the frown vents. Everything worked fine.

Then, I covered the nots and bolts in the interior of the helmet. Placing duct pads sections cut by half with the tape, just to place it temporarly and had an idea of where should I paste them later on. It came pretty good.

So now, everything is taped into place, I just need to hoot glue it and I guess the padding will be done, and the fit will be great.


This is a picture of the front part of the helmet with the padding taped in place.


This is a detail from the side padding, covering the bolt and knot, and giving secure fit to my head.


And this is the view of the whole head padding, I left an unpadded section on the back to allow space for my dreadlocks to be. The whole thing worked out pretty cool. And fits just right. I will hot glue it in the days to come.

Needless to say, I decided against the hard hat liner and use the foam instead.

Wednesday, August 16, 2006

Thinking about it...

Its wednesday, and in weekdays its kindof difficult to work in my helemt. But that doesnt stops me for surfing the net for tips and ideas on what modifications to make.

I hev been thinking for a while now about what the next step should be. First of all I will finish with the wire mesh inside the vents on the frown and the frowns paint job. Probably on friday. My grilfriend offered to go buy the paint and some foam padding I need. She is great! Its awesome how she enjoys this project with me. So after I finish all that, I will prbably start working on either the hard hat liner and the padding, or on the cooling system.

I found a great tutorial on how to install the fans inside the helmet. It comes with cool descriptions and very usefull pictures. It even has the Radioshack Item numbers for the parts I need. Ill post it in the links section on the blog, but for now, its here:

Obi Wan's Jedi Academy cooling system tutorial

I still need to think about where to place the fans inside the helmet. Probably where the frown vents are.

But oh well... such a long way to go. I think I will finish the wire screen and paint job, the liner, the vents and at then the padding. And still dreaming of the voice amp and comm sistem. But maybe later, just maybe.

Monday, August 14, 2006

Step 1. A New Helmet.

Friday August the 11th, 2006 was the day I got my Stormtrooper Helmet. A shiny white plastic helmet. Almost as cool as a real durasteel ST helmet.

Since getting an armor is quiet expensive, I got a deal where I could pay for it monthly. Each month getting some parts of my armor. That works fine with me cause, that way, I can afford to pay it, and I can have enough time and not rush into building the whole armor at once. Im not very patient with these kind of things.

Ive heard all kindof stories about ppl being too impatient and excited, and therefore comiting several mistakes when putting toguether the armor. Specially the helmet. So, I was very thankfull to get my helmet all in pre-esambled and with the decals already on. But that didnt meant it was anywhere near finished. No.

So, I firstly studied the parts, how it worked toguether and how it was build. Evaluating what modifications to make and which ones dont.

Just before begin working on my helmet, I got a few basic tools: hot glue and hot glue gun, scissors, cutter knife, hand drill, spray paint, and some other stuff.

First modification, I decide to hot glue all the helmet parts toguether. Good call I think, cause now the helmet feels a lot more solid and doesnt feel like a plastic toy anymore.

Then, to give it a more "realistic" look, I spray painted the interior in black. It gave the helmet a really cool look and now it feels like if it was made of some real armored material. To do it, I masked the lenses, removed the black rubber rim and masked it from the interior to the exterior, this to prevent the outer side of the helmet to be painted. Unfortunately, I dont have pictures of any of these steps, but I do have some picts of the finished look.


After painting it, and letting it dry for several hours, I decided to get some metalic screen, and start working on the frown vents. In this part of the process, my girlfriend joined me. I must say that its for me a great joy and also it makes the whole thing more exciting, that she supports me, helps me and most important of all, is happy for me to have my armor! She is the BEST!

Using my hand drill, I drilled some wholes in the frown, and then using the cutter knife I carved the wholes until they were shaped like squares. Althought it took some time, it was easier than I thoughth it would be. At the end, I had the helmet with all the vents, ready to be painted gray to meet the ANH style.

To paint it, I masked the helmet leaving just the area that I was going to paint. Being careful to cover the holes from the inside of the helmet, to prevent any unwanted gray spots on the interior. I dont have pictures of these either, but here is one of the result.


Now, there were 2 main unwanted results here. First of all, the paint color did not match the color of the decals, so I was a bit disapointed about that. Need to paint it again in some darker gray. The second one, is that when removing the tape I used to mask the helmet up, some paint was removed from the helmet surface in the edges, and a big portion of it from the inner part. So, Ill have to paint it all up again.

Here is a picture of the detail of the paintjob.


So, once I accepted that I would not be able to work directly in the helmet for a while, I looked forward the screen I would use to place inside the vents.

What I did, was cutting three different pieces of screen, being carefull to position them in such way that it was difficult to see through them. And then, proceeded to glue them toguether with hot glue.

A problem I found, was that the edges of the screens had wires that coud harm or scratch my face. I glued plastic straws to the edges and had a softish, round edge for my screen! It worked fine. I then, just painted it black and the piece was ready to be glued in place. Too bad I cant do it for now, not until I have the paint job done right.

Here is a picture of the screen.


Next, and since I cant do much more until I get the correct gray paint, I just got an old construction helmet and took the liner apart from the hat. I will use it later on to make the right modifications to get a good fit for my head (I have dreadlocks so its not an easy job). Im thinking about fixing it with Velcro or something. Lets see.

Here are pictures of it.


White armor.


The very first time a remmeber seeing a Stormtrooper, was at the movies: Star Wars Episode V Empire Strikes Back. The first movie I ever saw in a theater. Ever since, Ive been an Empire Fan! Darth Vader rules, and so does the Emperor, and of course... all the Imperial Stormtroopers.

Since age, maybe 3, I wanted a white armor. Its been one of my most persisting dreams. At some moments of my life it was even an obsesion... 26 years or so. And now, my dreams is slowly becoming real.

This blog will be dedicated, to showing the process of constricting, customizing, and enjoying my Stormtrooper White Armor... Pictures, tips, events, quotes and all the stuff that motivates and excites me about my armor.

Hope to have some fellow SW/Stormtrooper/Costuming entusiasts visiting and maybe leaving some comments.

May the Dark Side of the Force be with you.